Sunday, 2 July 2017

A pair of chairs

A pair of chairs to a bench


I had two of these chairs, one of which was beyond repair and half painted, I enlisted a partner in crime, well bullied big bro into helping. He removed the backs off the chairs and framed the two together :) 


I added a lathe of wood either side inside the frame to hold the seat, cut planks to size and screwed them in place.


I painted the frame with a grey undercoat and then sprayed with rustoleum's graphite.


Then sanded back the finish in places to give the piece a distressed look.


I cut a 2" foam to size.


Lastly I covered the seat pad in a grey linen upholstery fabric and my two old chairs are now a bench.


Thursday, 16 March 2017


Pair Of Wardrobes Revamp


I had been looking for 2 wardrobes for a while. These are actually a his and hers set.

They are the same in every way apart from one being slightly deeper than the other.


Beautifully made solid wood pieces but all that varnish....pre-loved for sure. Sanding was a whole days entertainment. old style wooden knob handles dowelled into the doors, an effort to remove.


two coats of primer followed by two coats of satin finish gloss inside and out


Added a little glass knob and baskets to the shelves


A bit of an effort to do the two but worth it I think.


Monday, 27 February 2017

1950's china cabinet re purpose

1950's China Cabinet Re purpose


Charity shop find!

Glass doors had to go


I had originally planned on painting this but it was so shiny that I wasn't confident of getting a good finish.


A wee cheat that I have used a few times is good old contact. a bit of careful cutting, peel the back and stick it on.


I redone the inside and the out side with the contact, Returned the original glass shelves and finally added an LED light


 Okay so it no longer displays china but has found a home and houses lady Jane's vast array of cosmetics. I added a ring to the side to slot the hairdryer into .


Previous project 

The little Mackenzie child inspired drum stool has also found a home


Monday, 16 January 2017

Inspired by Mackenzie Childs

Retro geek to Harlequin chic


Not much to dismantling this one.
just remove the upholstered pad and
screw off the top.


masked out my harlequin pattern using
green frog tape.


Thought about masking off the white to paint the black but decided to test my steady hand and paint it free hand.


added a little gold stud on the points of the diamonds, and a band of gold top and bottom.


I upholstered the pad in black velvet adding a white button at the centre. A row of studs on the lip of the top panel.


Screwed it all back together. 
Inspired by mackenzie childs

Wednesday, 21 December 2016


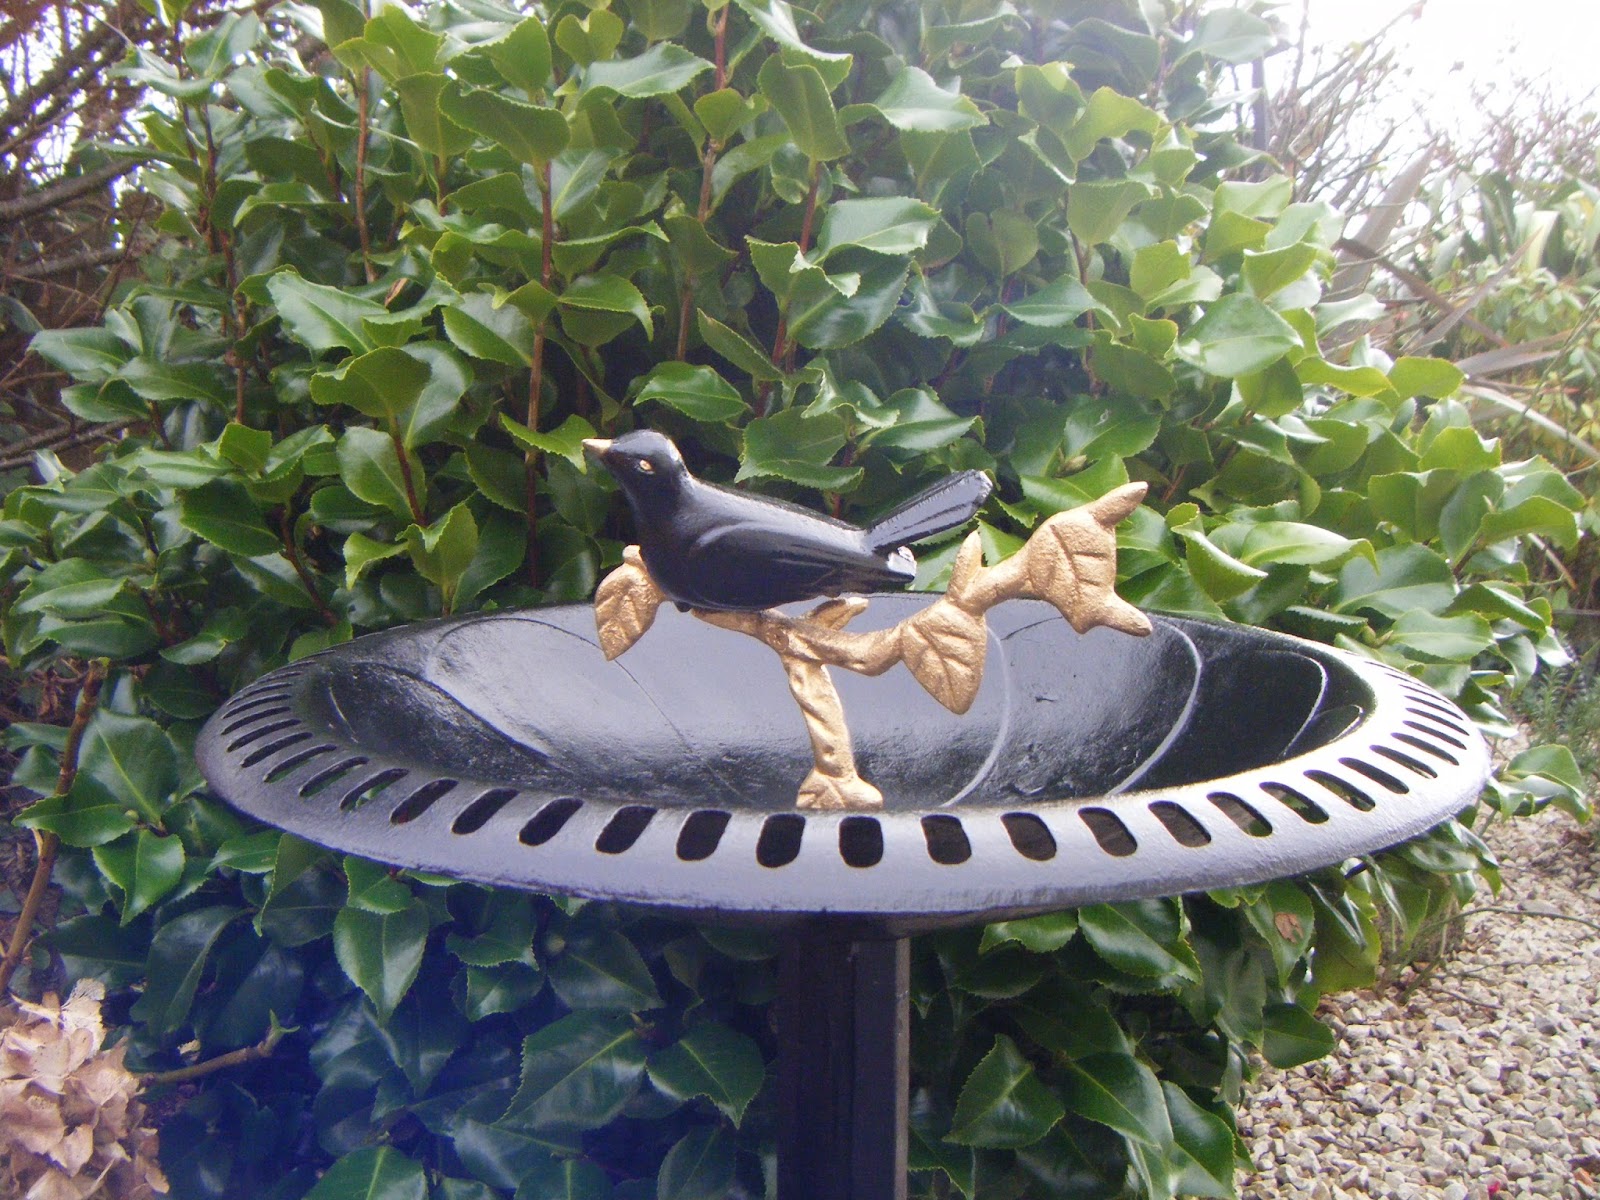
Beautiful bird bath


I bought this piece months ago off my buddy Stanley. The peeling paint and rust came free but I kind of thought I have loads of time between now and Christmas to strip and re-do. Me being me I started it on Sunday 18th Dec.......last minute .com as usual


First job involved a lot of scraping and a good deal of a wire brush. On number one sons advice I decided to treat with a rust stabiliser 


This one from hammerite is a really easy process, just paint it on. It turns a blue/Black and can be painted after 3 hours.


I really would have loved to have kept this finish but it wouldn't last in the garden


First coat was an undercoat, followed by 2 coats high gloss metal paint, branch and beak in gold. 
This piece has a bit of weight to it and so will be perfectly suited to its final destination. Donegal coastal gardens.......Everything can and does take off in the wind


Definitely not wrapping this Christmas present but can't wait to give.

Tuesday, 13 December 2016

A simple paint job

A simple paint job


sanding this piece was time consuming to say the least. I removed the hardware and the glass from the doors, undercoated the entire thing and finished off with two coats of eggshell paint.

VOILA


Friday, 4 November 2016


BED AND BEYOND


I have spent weeks looking at this poor single bed. I have moved it around my workshop and almost disposed of it several times. The urge to saw it up won out, resulting in a bench.
First I lowered the headboard by sawing the bottom 10" off the Legs. I dismantled the footboard and done the same to the front legs. I gave the side rails the same treatment reducing them to 24".


The footboard I decided to re-attach upside down after sawing off 6" to create a straight edge to become the front of my bench


The original lip on the side rails allowed me to reuse the bed slats to create the seat of the bench.


Starting to resemble a bench


     I used a 2" foam to create a seat pad, covering it with tartan.


I decided to upholster the top panel of the back of the bench, I used a piece of 1/2" foam to pad and covered in the same tartan, added a little piping cord to finish it off


                                  Little bed became a really sturdy bench